


- Crafts & DIY
- Jul 26
2024-07-26
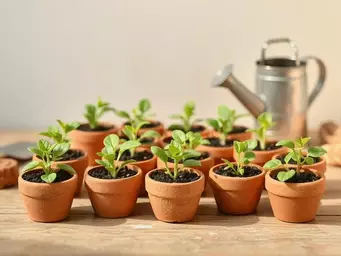
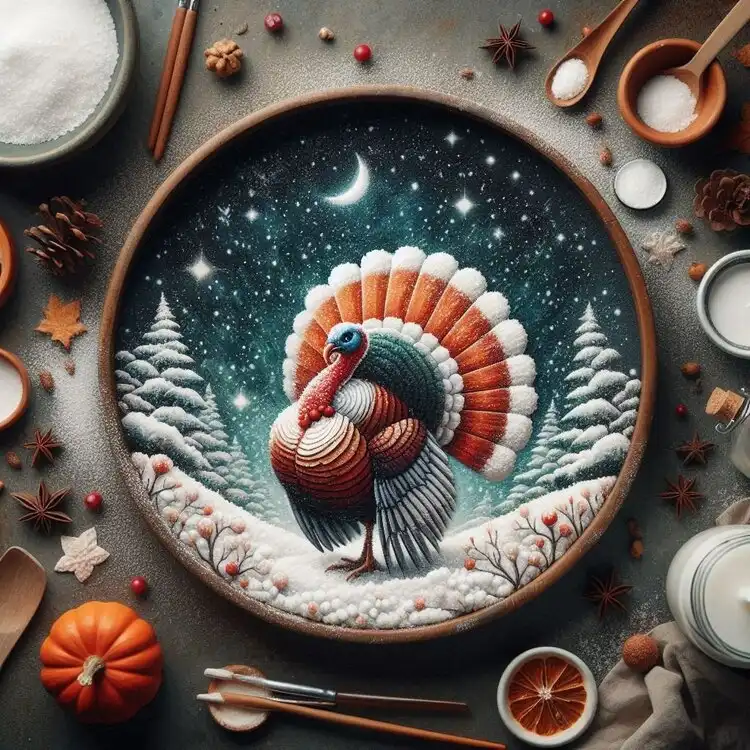
As we approach the holiday season, many of us are looking for fun and creative ways to get into the spirit. One activity that's sure to delight both kids and adults alike is salt-painted turkey craft. This unique and engaging project allows you to unleash your creativity, experiment with vibrant colors, and create a beautiful piece of art that's perfect for displaying in your home.
Salt painting is a fascinating technique that involves using salt to create intricate, textured designs on paper or fabric. This method has been around for centuries, and its benefits extend far beyond just creating beautiful art. Salt painting can help improve fine motor skills, hand-eye coordination, and even cognitive development in children. For adults, it's a great way to relax, unwind, and tap into your creative side.
TIP: Always supervise children during activities to ensure their safety.
In this guide, we'll take you through the process of creating a stunning salt-painted turkey craft. With just a few simple materials and some basic steps, you'll be on your way to creating a masterpiece that's sure to impress friends and family.
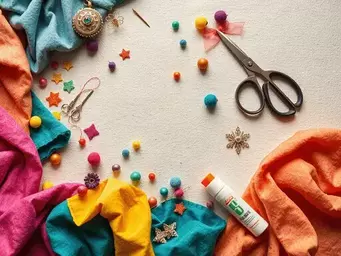
Before we dive into the project, let's take a look at the materials you'll need to get started:
When preparing your workspace, make sure to cover your surface with newspaper, a plastic tablecloth, or a vinyl table runner to prevent any mess or stains. You may also want to have some paper towels handy to clean up any spills.
Now that we have our materials ready, let's move on to the fun part – creating our salt-painted turkey craft! Follow these steps to get started:
Step 1: Create Your Turkey Template
Take your template or stencil and place it on your watercolor paper. Use a pencil or marker to trace the outline of the turkey. Make sure to press firmly so that the lines are visible.
Step 2: Mix Your Paint
In a small bowl, mix 1-2 tablespoons of water with a few drops of watercolor paint. Stir well to create a vibrant, liquid color. You can experiment with different ratios of water to paint to achieve the desired shade.
Step 3: Apply the Paint
Dip your paintbrush into the paint mixture and apply it to the turkey template. Make sure to cover the entire area, but don't worry too much about staying within the lines. The salt will help create a beautiful, textured design.
Step 4: Add the Salt
Sprinkle a generous amount of salt over the wet paint. You can use your fingers or a spoon to spread it evenly. Make sure to cover the entire area, but avoid piling the salt too high.
Step 5: Let it Dry
Allow the paint and salt to dry completely. This may take several hours or overnight, depending on the humidity and temperature of your workspace.
That's it for now! In the next section, we'll explore the magic of salt painting, including the science behind this fascinating technique and tips for achieving vibrant colors. Stay tuned for more fun and creativity!

Now that you've got your salt-painted turkey craft underway, it's time to dive deeper into the fascinating world of salt painting. In this section, we'll uncover the secrets behind this unique art form, explore the science behind it, and provide valuable tips for creating vibrant colors and avoiding common mistakes.
Salt painting is a type of resist art that involves using salt to create unique textures and patterns on a surface. But have you ever wondered what's happening behind the scenes? The magic of salt painting lies in a chemical reaction between the salt, paint, and water.
When you sprinkle salt onto a wet surface, the salt absorbs the moisture, creating small, raised dots. As the paint is applied, these dots resist the color, resulting in intricate patterns and textures. The ratio of salt to water plays a crucial role in this process, as it affects the size and shape of the dots.
One of the most exciting aspects of salt painting is the ability to create a wide range of vibrant colors. But how do you achieve those stunning shades? It all comes down to mixing and matching your paints.
Here are a few tips for creating vibrant colors in your salt-painted turkey craft:
Even with the best intentions, mistakes can happen in salt painting. But don't worry – we've got you covered! Here are some common errors to watch out for and tips for correcting them:
By understanding the science behind salt painting, experimenting with color mixing, and avoiding common mistakes, you'll be well on your way to creating a stunning salt-painted turkey craft that's sure to impress. Stay tuned for the next section, where we'll dive into designing your turkey template and adding final touches to your masterpiece!
Now that you've mastered the art of salt painting, it's time to bring your turkey to life! In this section, we'll explore the final stages of the project, from designing your turkey template to adding those finishing touches that make your craft truly special. We'll also discuss the benefits of salt painting for children's cognitive development and provide ideas for making the project engaging and educational.
When it comes to designing your turkey template, the possibilities are endless! You can choose from a variety of pre-made templates or create your own from scratch. Here are a few ideas to get you started:
Regardless of the template you choose, you can always customize it to fit your personal style. Try adding your own unique touches, such as:
Once you've completed your salt-painted turkey, it's time to add those final touches that make it truly special. Here are a few ideas:
Remember to have fun and be creative! The final touches are all about adding your personal style and flair to the project.
Salt painting is an excellent activity for children, promoting cognitive development, creativity, and fine motor skills. Here are some ideas for making the project engaging and educational:
By following these tips, you can make the salt-painted turkey craft a fun and educational experience for children, promoting creativity, imagination, and cognitive development.
As you've completed your salt-painted turkey craft, it's time to showcase your masterpiece and bask in the joy of creating something truly unique and personalized. In this final section, we'll explore ways to share your creation with others, encourage creativity and experimentation, and reflect on the benefits of this fun and easy project.
Now that your turkey is complete, it's time to show it off! Taking high-quality photos of your craft is essential for sharing it with others and preserving the memory of your hard work. Here are some tips to help you capture the best possible photos:
Once you've taken your photos, share them on social media platforms like Instagram, Facebook, or Pinterest. Use relevant hashtags like #saltainting, #turkeycraft, or #fallcrafts to connect with other crafty enthusiasts and get inspiration from their creations.
The salt-painted turkey craft is just the beginning of your creative journey. Remember, the most important aspect of any craft project is to have fun and experiment with new techniques and materials. Don't be afraid to try new things, even if they don't turn out as expected. It's through these experiences that you'll grow as a crafter and develop your unique style.
Here are a few ideas to get you started on your next creative adventure:
As we conclude this guide, remember that the salt-painted turkey craft is more than just a fun project – it's an opportunity to express yourself, relax, and tap into your creative potential. The process of creating something with your own hands can be incredibly fulfilling, and we hope this guide has inspired you to continue exploring the world of crafts.
Before you go, take a moment to reflect on your experience with the salt-painted turkey craft. What did you enjoy most about the project? What challenges did you overcome, and what did you learn about yourself and your creative abilities?
As you move forward, remember to always keep a sense of curiosity and playfulness in your crafting journey. Happy creating, and we can't wait to see what you come up with next!